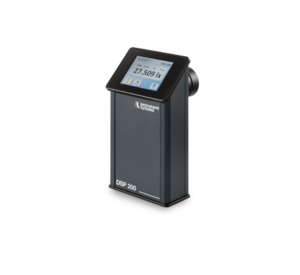
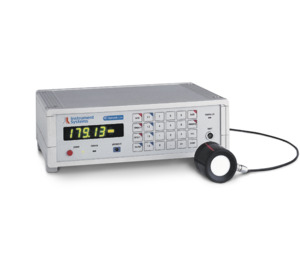
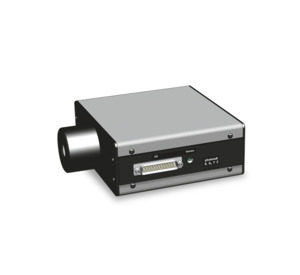
DSP 10 Ultra-fast photometer with a separate photometer head
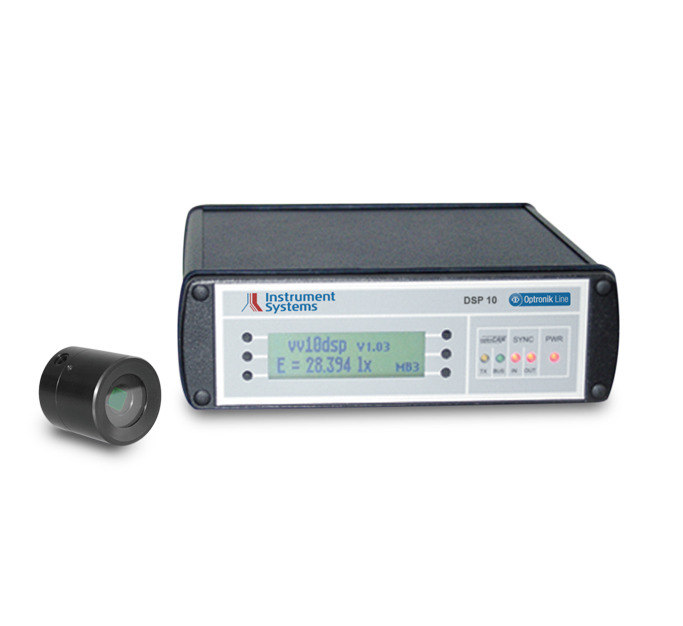


Established photometer of precision class L or A pursuant to DIN 5032-7, CIE Publication 69 and EN 13032-1 for lab measurements
The preamplifier of the DSP 10 photometer was specially developed for fast “on-the-fly” measurements with the AMS and LGS series of goniophotometers from Instrument Systems. Spatial light distribution can be measured in a fraction of the time needed with conventional systems.
The DSP 10 was designed for measuring both traditional light sources such as incandescent, halogen, fluorescent and discharge lamps and modern test samples with pulse-modulated LEDs. This broad range of applications is possible due to a unique combination of analog amplifier technology with digital signal processing.
DSP 10 – Product details:
- Extremely fast preamplifier with an internal sampling rate of 25,000 samples/sec. for measurement with the Instrument Systems AMS (Optronik line) and LGS series of goniophotometers
- Conforms to the requirement of Class L and A pursuant to DIN 5032-7, CIE Publication 69 and EN 13032-1 for lab measurements
- Adaptive measuring range switchover for all light sources, in particular PWM LEDs from 80 Hz to 10 kHz even with short switch-on cycles
- Connection to AMS controller via CAN-bus
- RS 232 interface for PC coupling
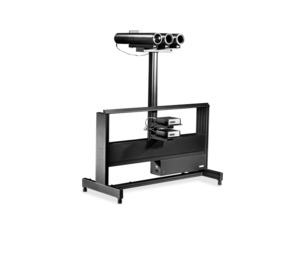
For “on-the-fly” measurements with goniometers
The DSP 200 photometer was designed for use together with the two goniophotometer series from Instrument Systems:
- AMS 200, AMS 3000, AMS 5000 (fast CIE Type A goniophotometer of the Optronik line for automotive exterior lighting)
- LGS 350, LGS 650, LGS 1000 (Type C goniometers for general lighting and SSL)
In this combination, light distribution can be scanned faster than with conventional systems or conformity analyses, e.g. of automotive headlights and luminaires in accordance with current standards such as ECE, SAE, FMVSS108.
DSP 10 – Technical data
Further parameters in the data sheet and brochure


